
Design a Smart Pomodoro Timer: The Ultimate Guide to ESP32, PCB, and IoT Integration
Designing a custom Pomodoro timer is more than just connecting wires; it is an exercise in product engineering. By integrating the ESP32's power management features, creating a custom PCB, and designing a sleek 3D-printed enclosure, we transform a simple hobby project into a functional productivity tool. Whether you are building this to learn KiCad, master Arduino interrupts, or simply reclaim your focus, the combination of hardware and software provides a satisfying and tangible result that software apps cannot replicate.
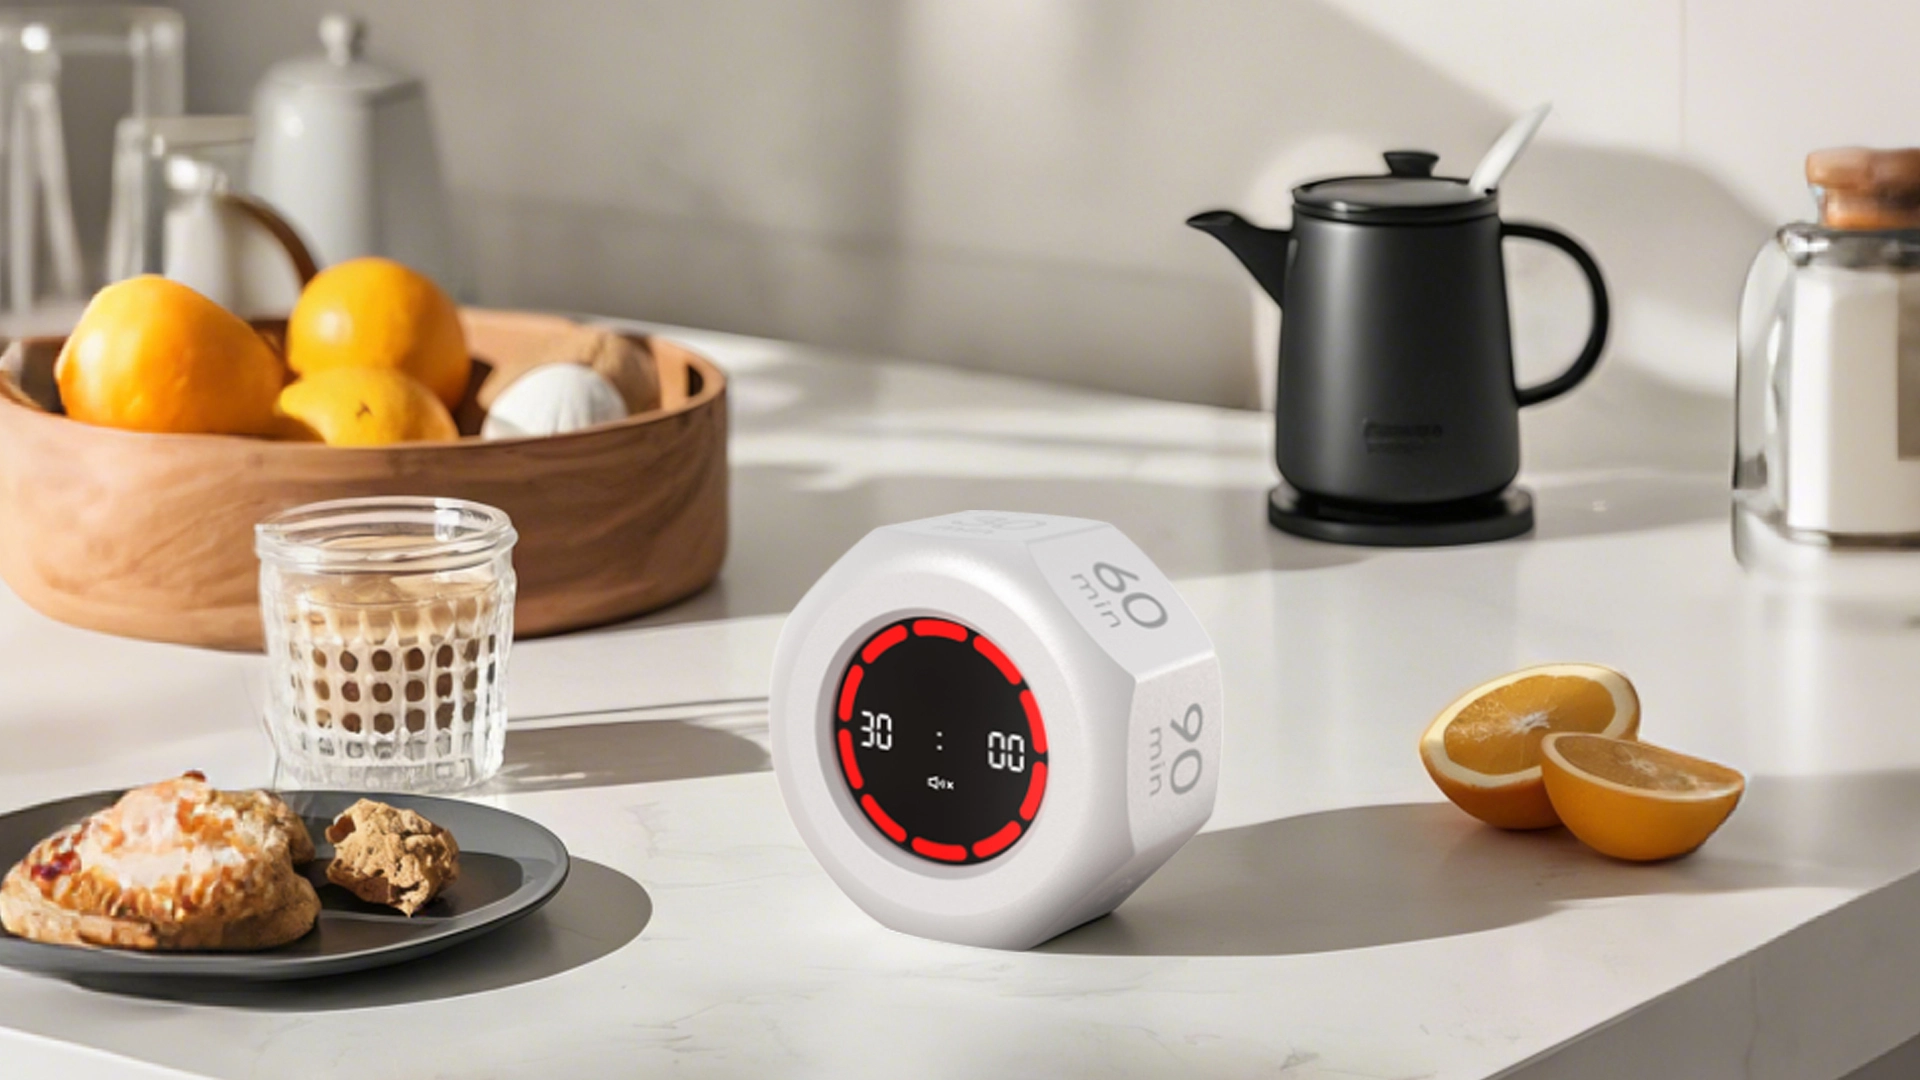
- Introduction: Beyond Simple Counting
- The Science of Focus: Why Hardware Matters
- Understanding the Pomodoro Technique
- Cognitive Offloading and Mental Load
- Step 1: Hardware Selection & Comparative Analysis
- Microcontroller Showdown: ESP32 vs. Arduino Nano vs. ESP8266
- Display and Input Options
- Step 2: Circuit Design and Power Management
- Designing the Schematic and BMS
- Power Optimization Strategy
- Schematic Walkthrough
- Step 3: PCB Design Workflow in KiCad
- Moving from Breadboard to Production
- Component Placement and Routing
- Manufacturing Files
- Step 4: Firmware Logic & Code Structure
- Core Architecture: Finite State Machine (FSM)
- Interrupts and Non-Blocking Code
- Step 5: The IoT Upgrade – Cloud Synchronization
- Utilizing ESP32 WiFi Capabilities
- MQTT and Data Visualization
- Step 6: Industrial Design & 3D Printing
- Designing the Enclosure
- Material Selection and Post-Processing
- Results, Lessons Learned, and Troubleshooting
- Battery Life and Power Analysis
- WiFi Latency
- Future Improvements
- Conclusion
- Transform Your Prototype into a Market-Ready Product
- FAQ
Introduction: Beyond Simple Counting
In an era defined by digital saturation, the very tools we use to manage our time often become the sources of our greatest distractions. While there are thousands of productivity apps available, the shift from distraction-filled smartphone apps to physical, dedicated devices is becoming a significant trend in consumer electronics. A physical device creates a tangible boundary between work and rest, free from the temptation of notifications.
This guide details the journey of engineering a professional-grade Smart Pomodoro Timer. We are moving beyond the typical breadboard hobby project. Instead, we will focus on IoT productivity device development, taking a raw concept through the stages of component selection, power optimization, custom PCB design KiCad, and finally, housing it in a sleek 3D printed electronics enclosure.
This is not just about making an LED blink; it is a comprehensive study in product engineering. We will cover advanced topics such as cloud synchronization for productivity tracking, implementing the ESP32 low power deep sleep modes to maximize battery life, and designing a device that feels like a consumer product rather than a prototype.
The Science of Focus: Why Hardware Matters
Understanding the Pomodoro Technique
The Pomodoro Technique, developed by Francesco Cirillo in the late 1980s, is a time management method that uses a timer to break work into intervals, traditionally 25 minutes in length, separated by short breaks. The philosophy is rooted in the idea that frequent breaks can improve mental agility. By committing to a specific block of time—a "Pomodoro"—you enter a flow state more easily.
Cognitive Offloading and Mental Load
Why build hardware when software exists? The answer lies in cognitive offloading. When you use a phone app, your brain must actively filter out the potential for other interactions (checking email, scrolling social media). This requires inhibitory control, which consumes mental energy. A physical timer allows for true cognitive offloading; you physically turn a switch or press a button, and the external environment holds the information of "time remaining," freeing your working memory to focus entirely on the task at hand.
Research in human-computer interaction suggests that tangible user interfaces often result in stronger habit formation. The tactile sensation of a mechanical switch or the auditory feedback of a buzzer creates a somatic marker, reinforcing the neural pathway associated with "focus time." For a deeper understanding of how external tools influence our mental processing, you can explore the concept of Cognitive Offloading in psychology.
Step 1: Hardware Selection & Comparative Analysis
Microcontroller Showdown: ESP32 vs. Arduino Nano vs. ESP8266
Selecting the brain of your device is the first critical engineering decision.
- Arduino Nano: Excellent for simple logic and low power consumption but lacks native connectivity.
- ESP8266: Offers WiFi, but has fewer GPIO pins and only one analog input, limiting peripheral expansion.
- ESP32: The superior choice for this project.
We selected the ESP32 because it offers a dual-core processor (allowing WiFi handling on one core and timer logic on the other), Bluetooth/WiFi capabilities for IoT integration, and, most importantly, an Ultra-Low Power (ULP) co-processor. This allows the main CPU to shut down while the ULP monitors for button presses, a requirement for any battery-operated device.
Display and Input Options
For the display, we must balance aesthetics with power consumption. A standard 16x2 LCD with a backlight draws significant current (often 20mA-120mA). Conversely, a 0.96-inch I2C OLED display is self-emissive, meaning it only consumes power for lit pixels, offering better contrast and lower average power consumption.
For inputs, we opted for mechanical tactile switches over capacitive touch sensors. Capacitive touch requires constant polling (which drains battery) or specific hardware interrupts that can be sensitive to noise. Mechanical switches provide the satisfying haptic feedback essential for the psychological "trigger" of starting a work session.
Step 2: Circuit Design and Power Management
Designing the Schematic and BMS
A portable device is defined by its power management. We cannot simply plug a battery into the ESP32; we need a Battery Management System (BMS). The schematic integrates a TP4056 lithium-ion charging module, which handles the charging cycle (Constant Current/Constant Voltage) and provides over-discharge protection.
Power Optimization Strategy
To achieve a battery life measured in weeks rather than hours, implementing ESP32 low power deep sleep is non-negotiable. The strategy is as follows:
- Active Mode: The device is counting down. WiFi is OFF. CPU is running at a reduced frequency (80MHz instead of 240MHz) to save power.
- Sync Mode: At the end of a session, WiFi turns ON, connects to the cloud, uploads data, and turns OFF.
- Deep Sleep: When the timer is reset or idle for 60 seconds, the ESP32 enters Deep Sleep. All peripherals are powered down, leaving only the RTC (Real Time Clock) active to wake the device via an external interrupt (button press).
Schematic Walkthrough
In the schematic design, special attention must be paid to I2C pull-up resistors. For the OLED display and any other I2C sensors, 4.7kΩ pull-up resistors on the SDA and SCL lines ensure signal integrity. Furthermore, we include a voltage divider connected to an ADC pin to monitor battery levels, allowing the device to alert the user when the LiPo battery drops below 3.3V.
Step 3: PCB Design Workflow in KiCad
Moving from Breadboard to Production
Transitioning from a messy nest of jumper wires to a printed circuit board (PCB) is where the project transforms into a product. We utilize custom PCB design KiCad workflows to achieve this. KiCad is an open-source EDA suite that is industry-standard for OSHW (Open Source Hardware) projects.
Component Placement and Routing
Space is at a premium in portable devices. The placement strategy involves:
- Centering user interfaces: The OLED and buttons are placed on the top layer, aligned symmetrically for the user.
- Decoupling Capacitors: Placed as close as possible to the ESP32 power pins to filter noise.
- Antenna Clearance: The ESP32's PCB antenna requires a "keep-out zone." No copper traces or ground planes should exist directly beneath the antenna, as this significantly degrades WiFi performance.
Manufacturing Files
Once the routing is complete and the Design Rule Check (DRC) passes, we generate Gerber files. These files are sent to fabrication houses like PCBWay or JLCPCB. For a polished look, we select a matte black solder mask with gold immersion (ENIG) finish, which provides better surface flatness for surface-mount components compared to standard HASL finishes. You can read more about standard PCB fabrication processes at PCBWay's engineering blog.
Step 4: Firmware Logic & Code Structure
Core Architecture: Finite State Machine (FSM)
Professional firmware relies on structure. Instead of a linear loop, we implement a Finite State Machine. The device exists in one of several states: IDLE, WORK_TIMER, SHORT_BREAK, LONG_BREAK, or SETTINGS.
enum TimerState {
  IDLE,
  WORK,
  SHORT_BREAK,
  LONG_BREAK
};
TimerState currentState = IDLE;
This architecture ensures that a button press acts differently depending on the context (e.g., a button might "Pause" during the WORK state but "Start" during the IDLE state).
Interrupts and Non-Blocking Code
A common mistake in amateur coding is using the delay() function. delay(1000) pauses the processor entirely for one second, meaning it cannot detect button presses during that time. Instead, we use the millis() function to track time passage without blocking the processor.
Additionally, button inputs are handled via hardware interrupts (ISRs). When a button is pressed, the ESP32 pauses its main loop to register the input immediately, ensuring the interface feels snappy and responsive. We also implement software debouncing to prevent a single press from registering as multiple clicks due to mechanical switch noise.
Step 5: The IoT Upgrade – Cloud Synchronization
Utilizing ESP32 WiFi Capabilities
This is where IoT productivity device development shines. The ESP32 connects to local WiFi to synchronize data. However, to save power, the WiFi radio is only powered on after a session is successfully completed.
MQTT and Data Visualization
We use MQTT (Message Queuing Telemetry Transport), a lightweight messaging protocol ideal for IoT. The timer publishes a JSON payload (e.g., {"session_type": "work", "duration": 25}) to a broker like AWS IoT Core or a personal Mosquitto server.
From there, a backend script (Node-RED or Python) can push this data into a Google Sheet or a dashboard like Grafana. This allows you to visualize your productivity trends over weeks or months, turning raw data into actionable insights about your work habits. For detailed specifications on the ESP32's capabilities in these scenarios, the Espressif Systems Technical Reference Manual is the ultimate authority.
Step 6: Industrial Design & 3D Printing
Designing the Enclosure
The physical housing is the first thing a user touches. Using CAD software like Fusion 360, we design a 3D printed electronics enclosure that protects the PCB while enhancing usability.
Key design considerations include:
- Snap-Fit Joints: To avoid the need for unsightly screws, we design cantilever snap-fits. This requires precise tolerancing (usually 0.2mm - 0.3mm clearance) depending on the printer's accuracy.
- Ergonomics: The display face is angled at 60 degrees. This allows the user to read the timer easily while it sits on a desk, without having to lean over.
Material Selection and Post-Processing
- PLA (Polylactic Acid): Easy to print but brittle and sensitive to heat. Good for prototyping.
- PETG: More durable and flexible, making it ideal for snap-fits.
- Post-Processing: To achieve a consumer-electronics look, prints are sanded with increasing grit (200 to 2000), primed, and spray-painted. Alternatively, utilizing "fuzzy skin" settings in slicers like Cura can create a textured, injection-molded appearance straight off the printer.
Results, Lessons Learned, and Troubleshooting
Battery Life and Power Analysis
In our initial tests, the device drained the battery in two days. The culprit was the quiescent current of the voltage regulator on the development board. By designing a custom PCB with a low-dropout (LDO) regulator that has a low quiescent current (like the HT7333), and strictly implementing ESP32 low power deep sleep, we extended the standby battery life to over three months.
WiFi Latency
Connecting to WiFi takes time and energy. We optimized this by using static IP addresses rather than DHCP, which shaved 2 seconds off the connection time, significantly reducing the energy cost of every cloud sync.
Future Improvements
While WiFi is powerful, it is power-hungry. A future iteration could utilize LoRaWAN for long-range, low-power communication, or BLE (Bluetooth Low Energy) to sync with a companion smartphone app, further refining the IoT productivity device development process.
Conclusion
Designing a custom Pomodoro timer is more than just connecting wires; it is an exercise in product engineering. By integrating the ESP32 low power deep sleep features, creating a custom PCB design KiCad, and designing a sleek 3D printed electronics enclosure, we transform a simple hobby project into a functional productivity tool.
Whether you are building this to learn KiCad, master Arduino interrupts, or simply reclaim your focus, the combination of hardware and software provides a satisfying and tangible result that software apps cannot replicate. This project demonstrates that with careful component selection and thoughtful design, DIY electronics can rival commercial products in both functionality and aesthetics.
Transform Your Prototype into a Market-Ready Product
Need help turning your IoT prototype into a mass-manufacturable product? Contact our engineering team today for professional PCB design and firmware development services. We specialize in taking concepts from the breadboard to the assembly line, ensuring your product is optimized for cost, power, and performance.
FAQ
Why use an ESP32 instead of an Arduino for a Pomodoro timer?
While an Arduino is sufficient for basic timing, the ESP32 is preferred for modern designs because it offers deep sleep modes for better battery life and WiFi capabilities for syncing productivity data to the cloud.
How can I extend the battery life of my DIY timer?
To extend battery life, utilize the ESP32's 'Deep Sleep' mode effectively, turning off the CPU and WiFi radio when the timer is idle. Additionally, control the LCD backlight via a transistor to shut it off when not in use.
Do I need a 3D printer to build this project?
While a 3D printer allows you to create a custom, professional-looking enclosure, it is not strictly required. You can use generic project boxes or modify existing containers, though a custom 3D print significantly improves portability and aesthetics.
Is it difficult to design the PCB for this project?
Not necessarily. Using free software like KiCad, you can convert your schematic into a PCB layout. This guide walks you through the basics, and many manufacturers offer affordable prototyping services for beginners.
Contacts
Sofia
WhatsApp/Phone
All
Do you offer OEM & ODM clock services?
Yes, we provide both OEM & ODM solutions, allowing clients to customize clock design, materials, packaging, and branding.
What types of clocks can you manufacture?
We manufacture a wide range of clocks, including wall clocks, desk clocks, digital clocks, and smart clocks.
Can I customize the clock design and logo?
Absolutely. We offer customization for clock appearance, structure, materials, and logo printing to perfectly match your brand.
What is the minimum order quantity (MOQ)?
Our standard MOQ varies depending on the model, usually starting from 200–500 pieces. Custom designs may require different quantities.
How do you ensure product quality?
All clocks undergo strict quality control, including time accuracy tests, durability checks, and packaging inspections before shipment.
Interested in this article?
Let’s talk.
Need specifications, pricing, or customization options? We’ll provide everything you need.
By clicking “Submit,” you agree to share your information with our authorized team to process your request.
Your data will only be used for necessary communication and support.

Youben life
Youben life